The right-hand side number plate light on my 2017 Abarth 595 was intermittently working and most annoyingly it would randomly trigger the warning light on the dash. This post is about my debug/repair and I uncovered a few things that might help others in the same situation.

Sadly this is a very common issue that has gone unresolved for 10+ years of this design. In my case, this was not the cause of the intermittent light, but I taped and reinforced all those wires. If I had let it go longer the wires would eventually have broken completely. Also the smaller grey/white wire had 12V on it and would have blown a fuse.
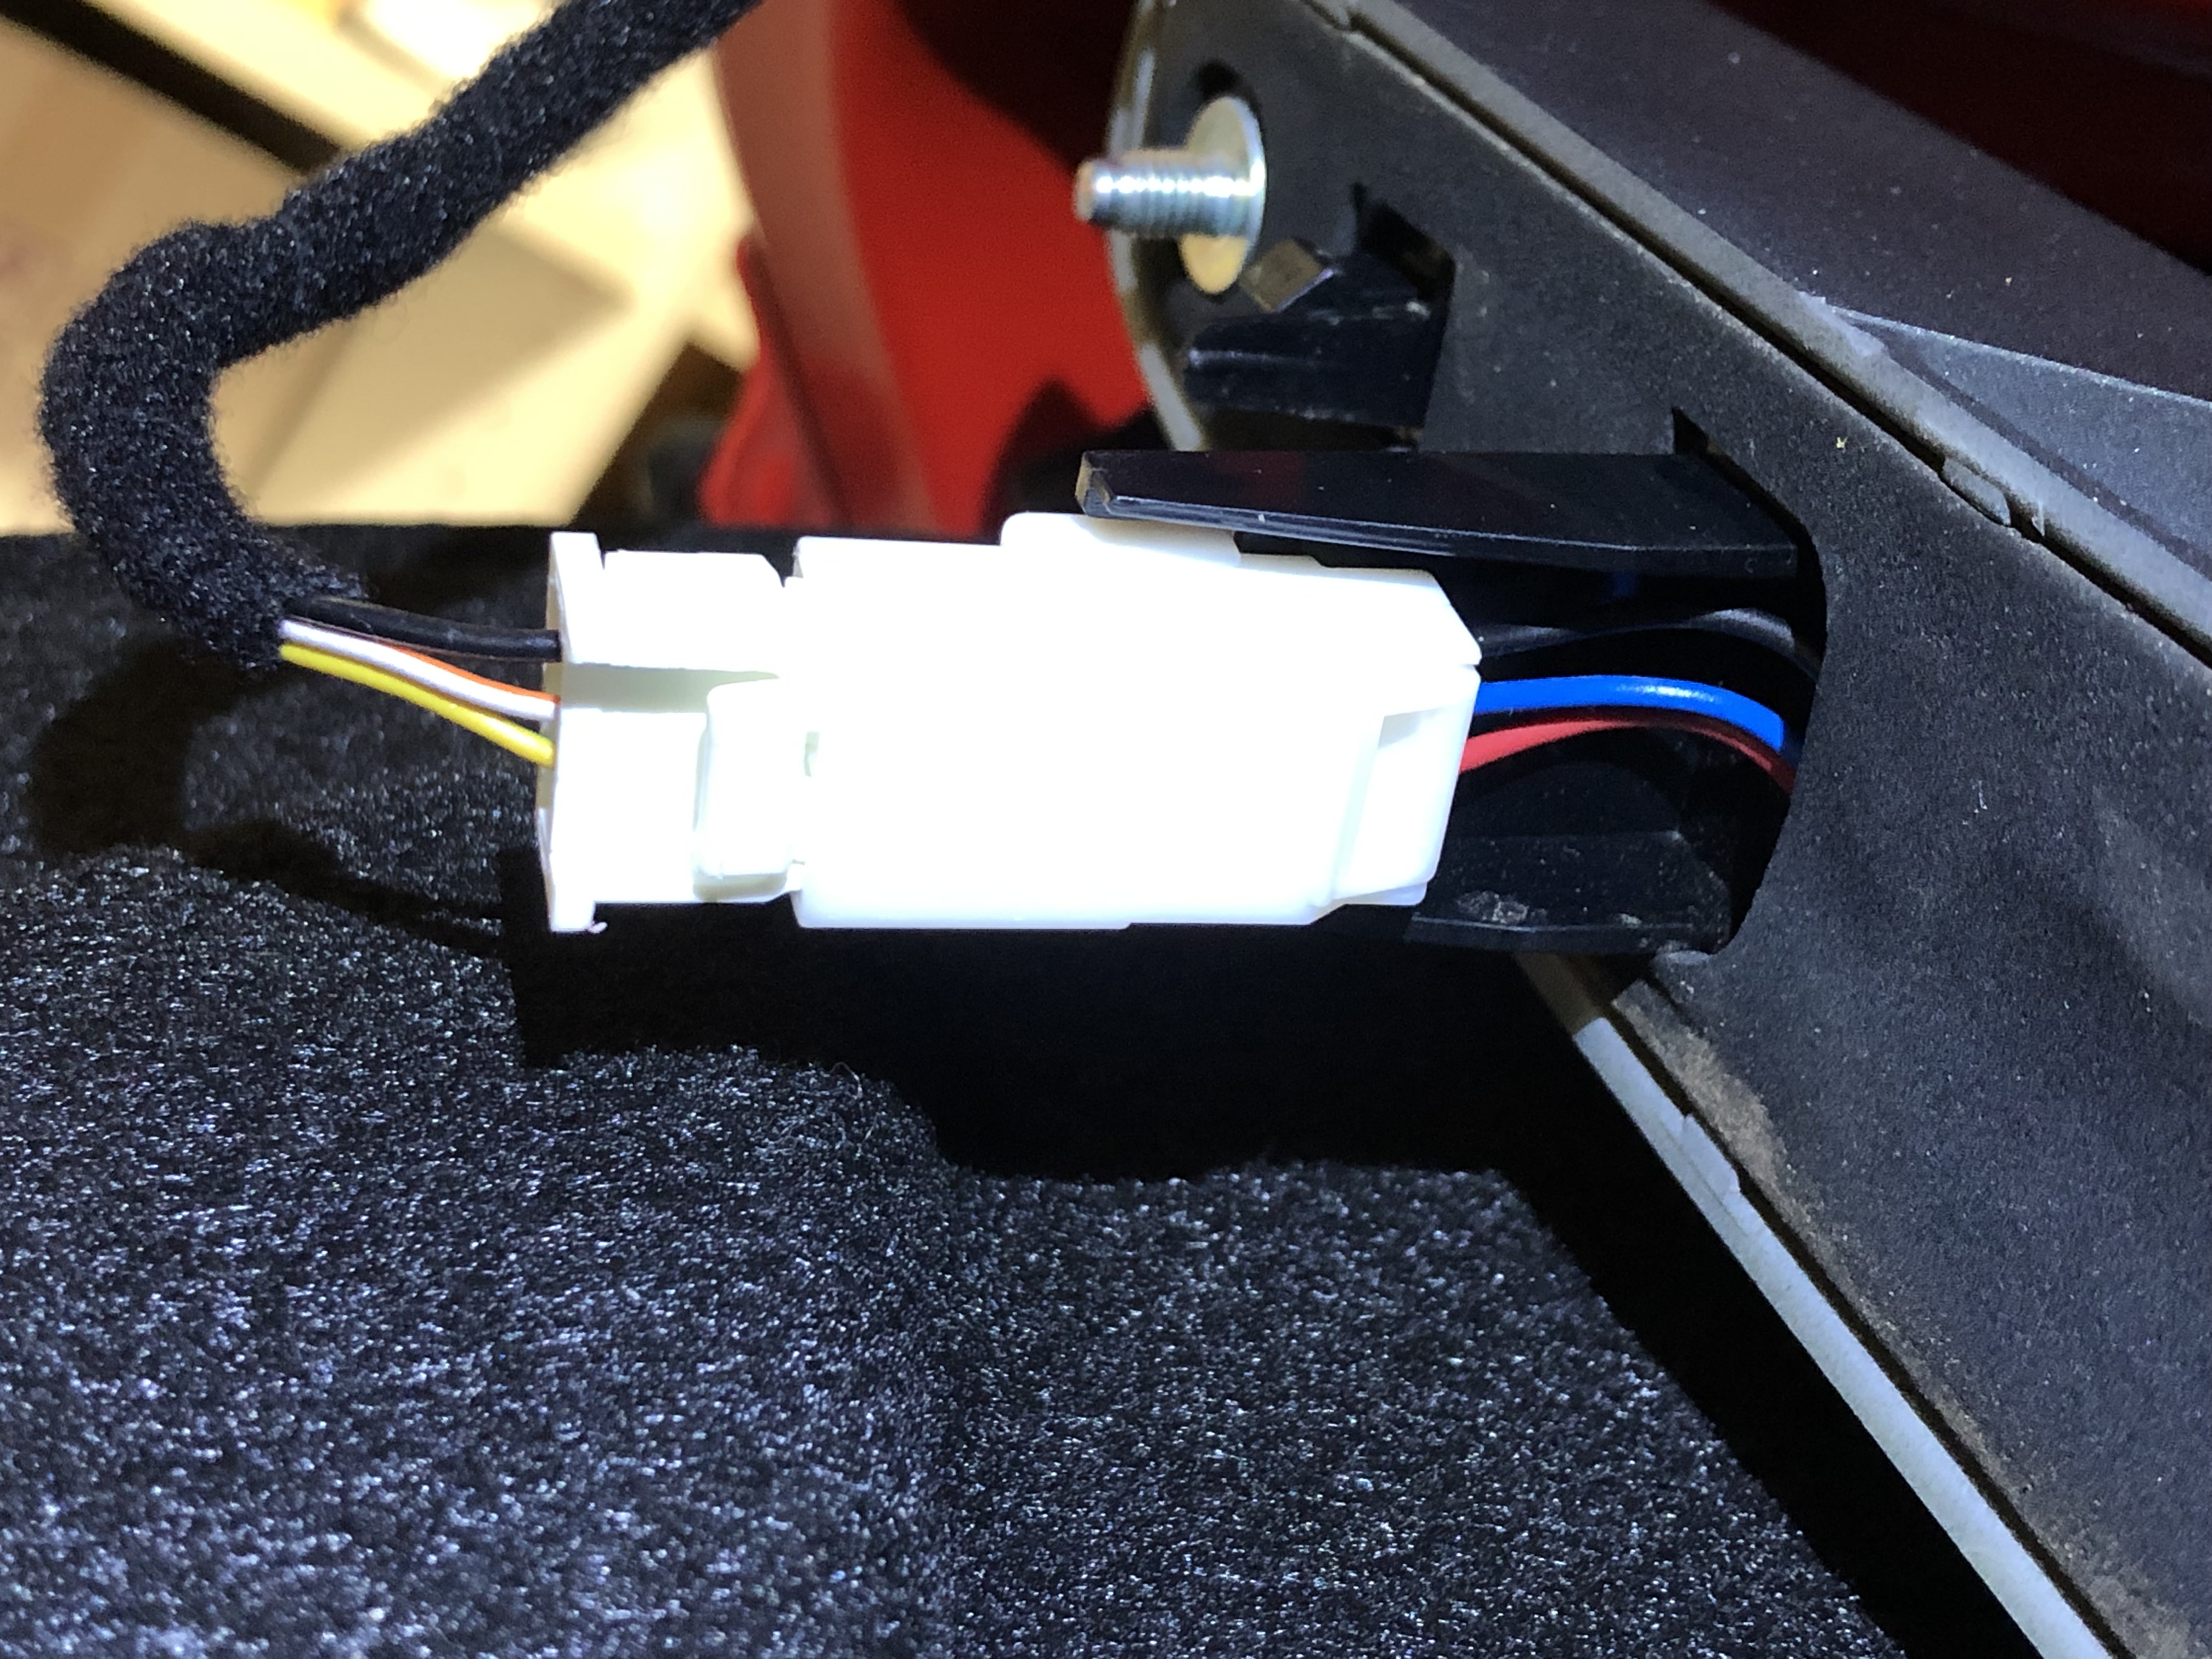
Once inside you will see where the wiring from the loom connects to the housing on the inside. The loom has 3 wires (Black, Orange/White and Yellow/Green). Those connect to Black, Blue and Red which go to the handle. Black is ground, Blue goes to the hatch release button and Red is the power to the license plate lights.

Once you remove the nuts, the handle just comes off quite easily revealing a bunch of cutouts. I took the opportunity to clean it up a bit since it had collected a bunch of dirt. I'm a bit curious what the larger rectangular cutout is on the right side since it's not used for anything on my car. If you know, drop it in the comments. I'm thinking maybe it's for a manual key lock?

The left hand light is powered from the red wire (above) and internally it is extended with the brown/red and brown/black and black wires to the right side. In my case this is what had a dodgy connection and was easy to fix.
The other thing I noticed is that both the right and left lights had heat damage to their housings. These bulbs are incandescent and get hot enough to damage the inside of the housing per the photo below. Replacing these with lower wattage LEDs to prevent further heat damage might be an option - but I don't think it will work.

The method that the car uses to determine if the light globe is blown out is to test how much current is drawn by the lights. A dead light draws 0A and a working light draws about 420mA (5W @ 12V). A LED replacement would draw far less than 5W and thus may not draw enough current to avoid an error light. The "Error Free" lights thus also include a resistor with the LEDs so that the total current draw of the package is close to about 420mA. The clincher is that the heat is produced by the entire power draw of the package. Thus with LED + Resistor, the total draw would be 5W and thus the heat would be about the same. If the heat is the same, then the melting issue isn't resolved. If I am wrong, let me know in the comments. Another option is to put a resistor elsewhere in the circuit where the heat wouldn't be an issue.
With everything fixed, I did a bench test of the handle assembly and the lights worked. Interestingly the total draw was 8.6W across the two bulbs so clearly the 5W rating on the bulbs is not very precise (and they are 5 years old anyway).

Because I had torn the foam to get access to the wires, I used a bit of black duct tape to reseal it. Not sure if this was the best way to do it (if you have better ideas, put them in the comments).

Then re-installation was simply the reverse. Place the handle assembly on the car, reattach and tighten the 4 hex nuts, connect the electrical connector, test the lights, replace the panel and the job is done.
hi maybe u can assist me with a similar problem
ReplyDeletehi Ambor have a question for you please
ReplyDelete